
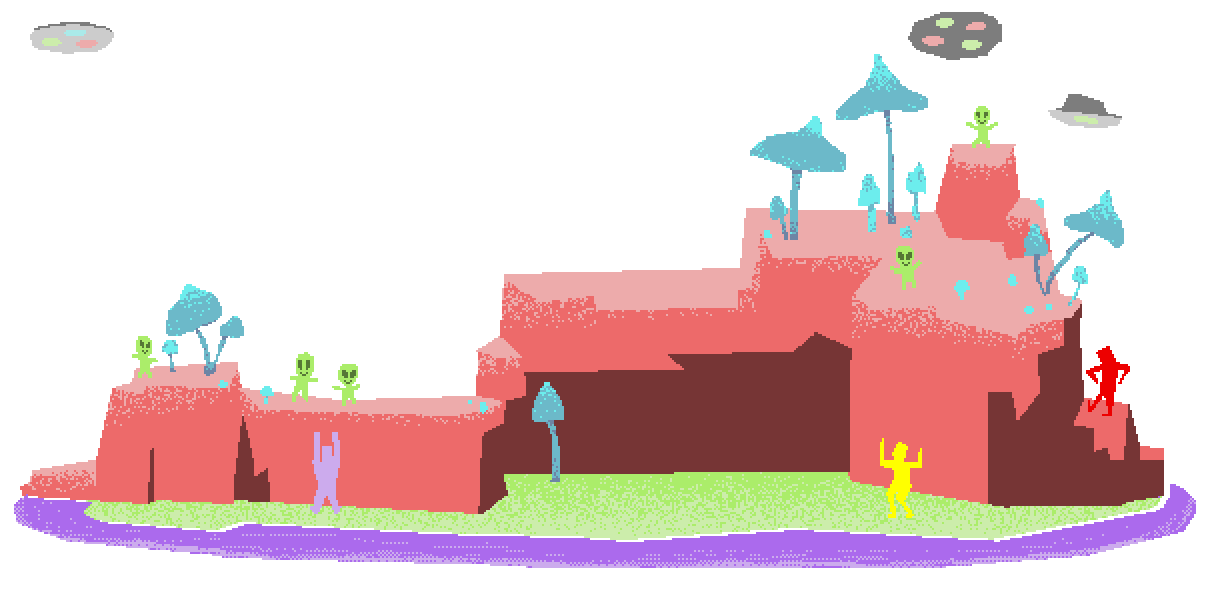

3D virtual spaces for
raves, watch parties and hangouts
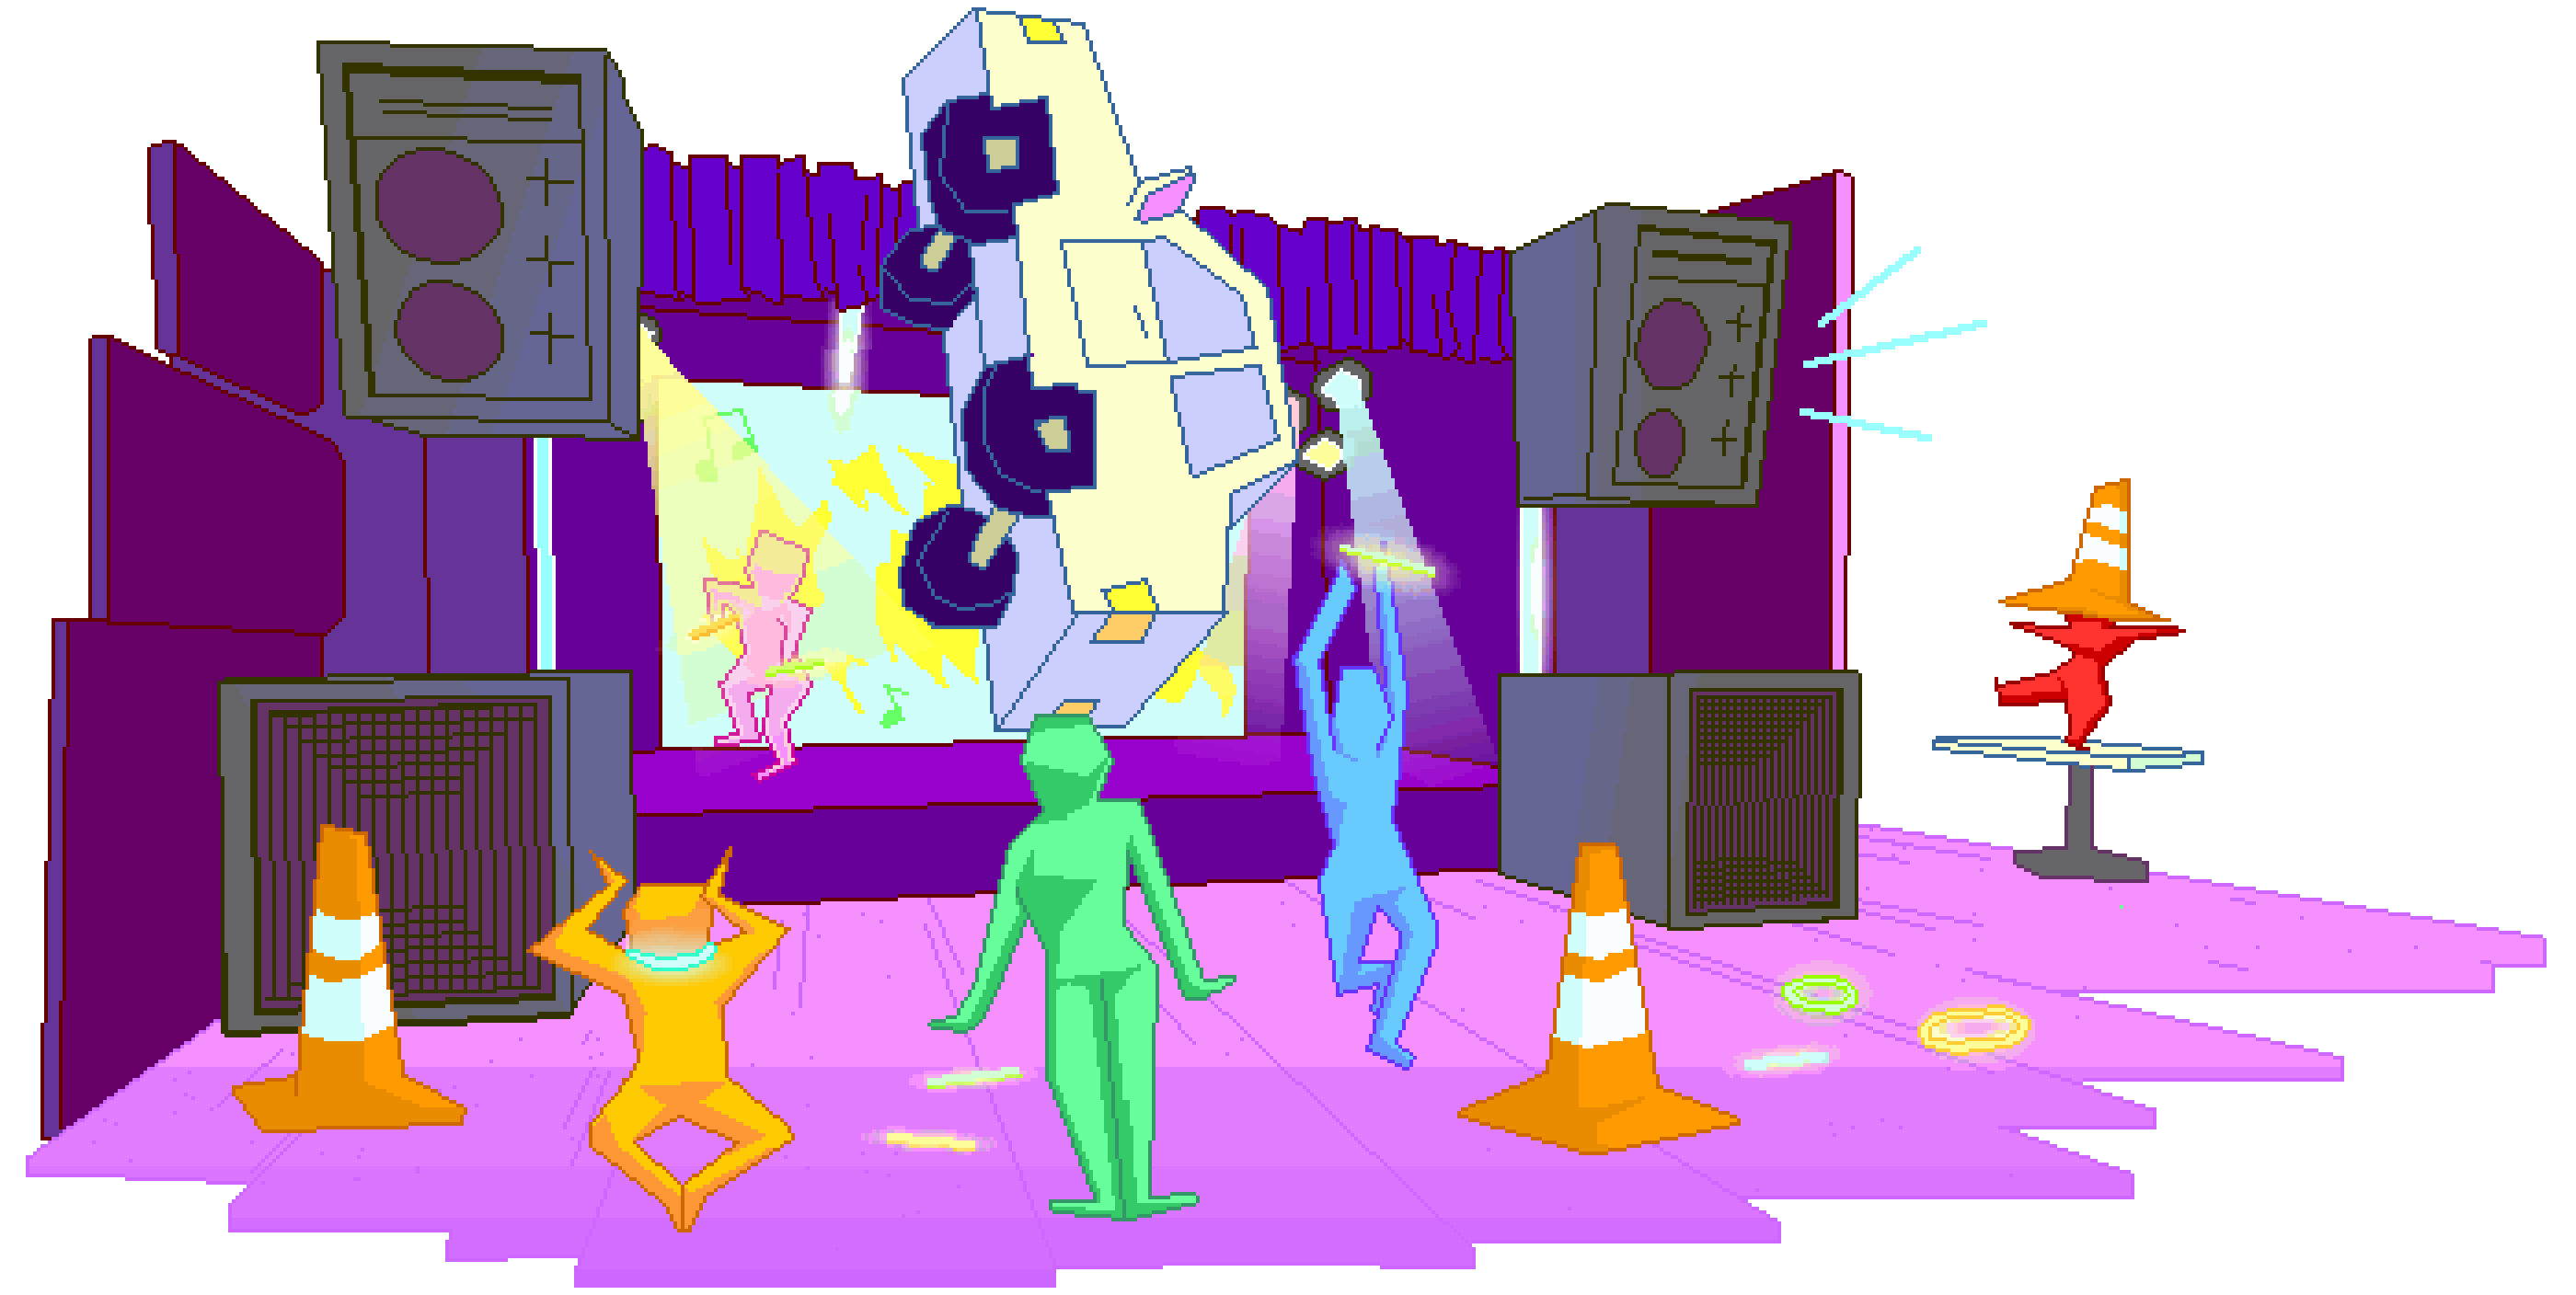
Hop straight in and start a party
Choose a template, invite your friends and get streaming. No sign-ups, no log-ins!
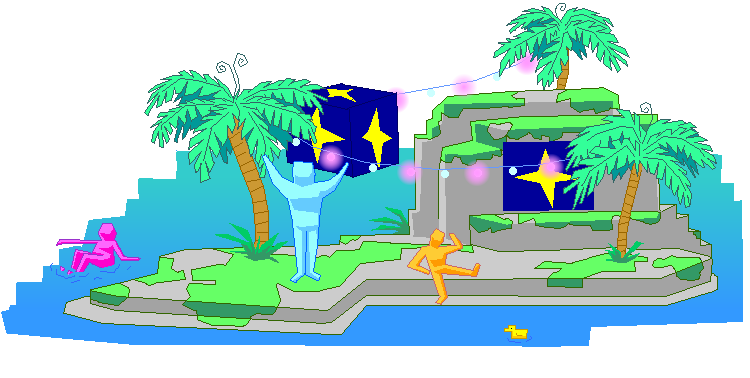
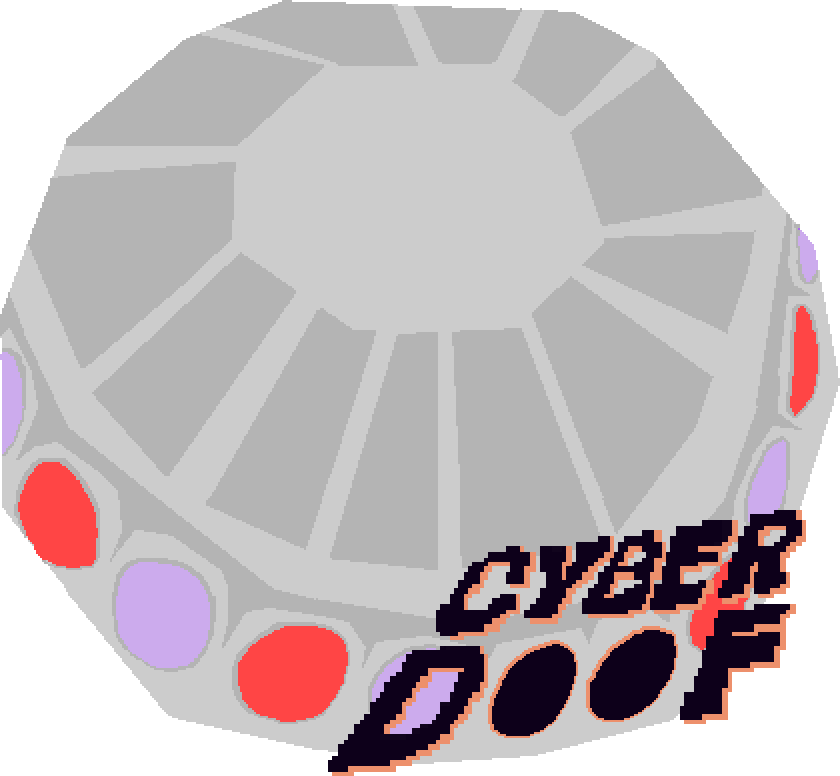
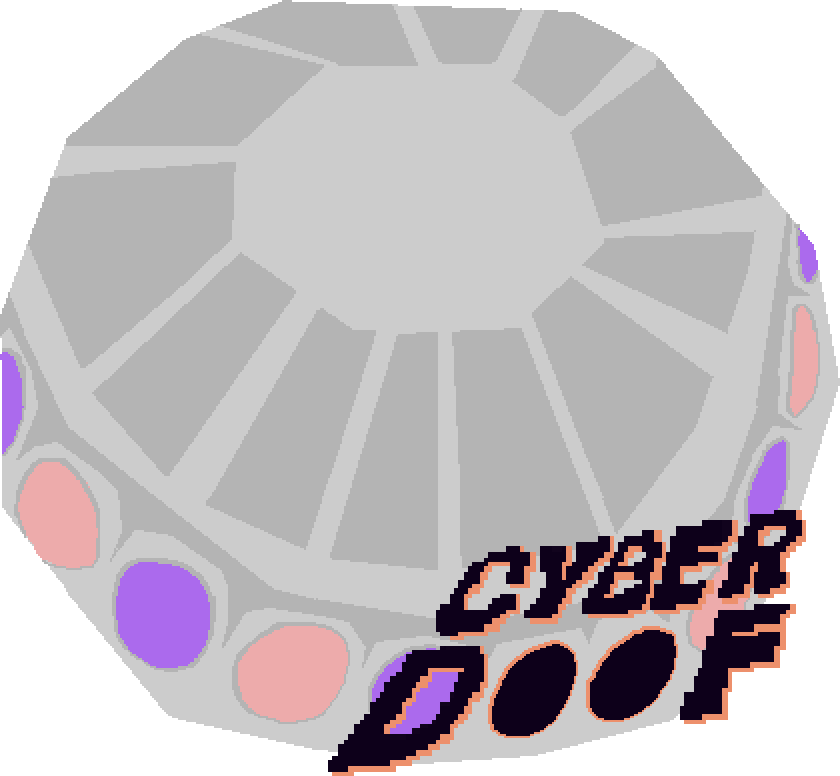
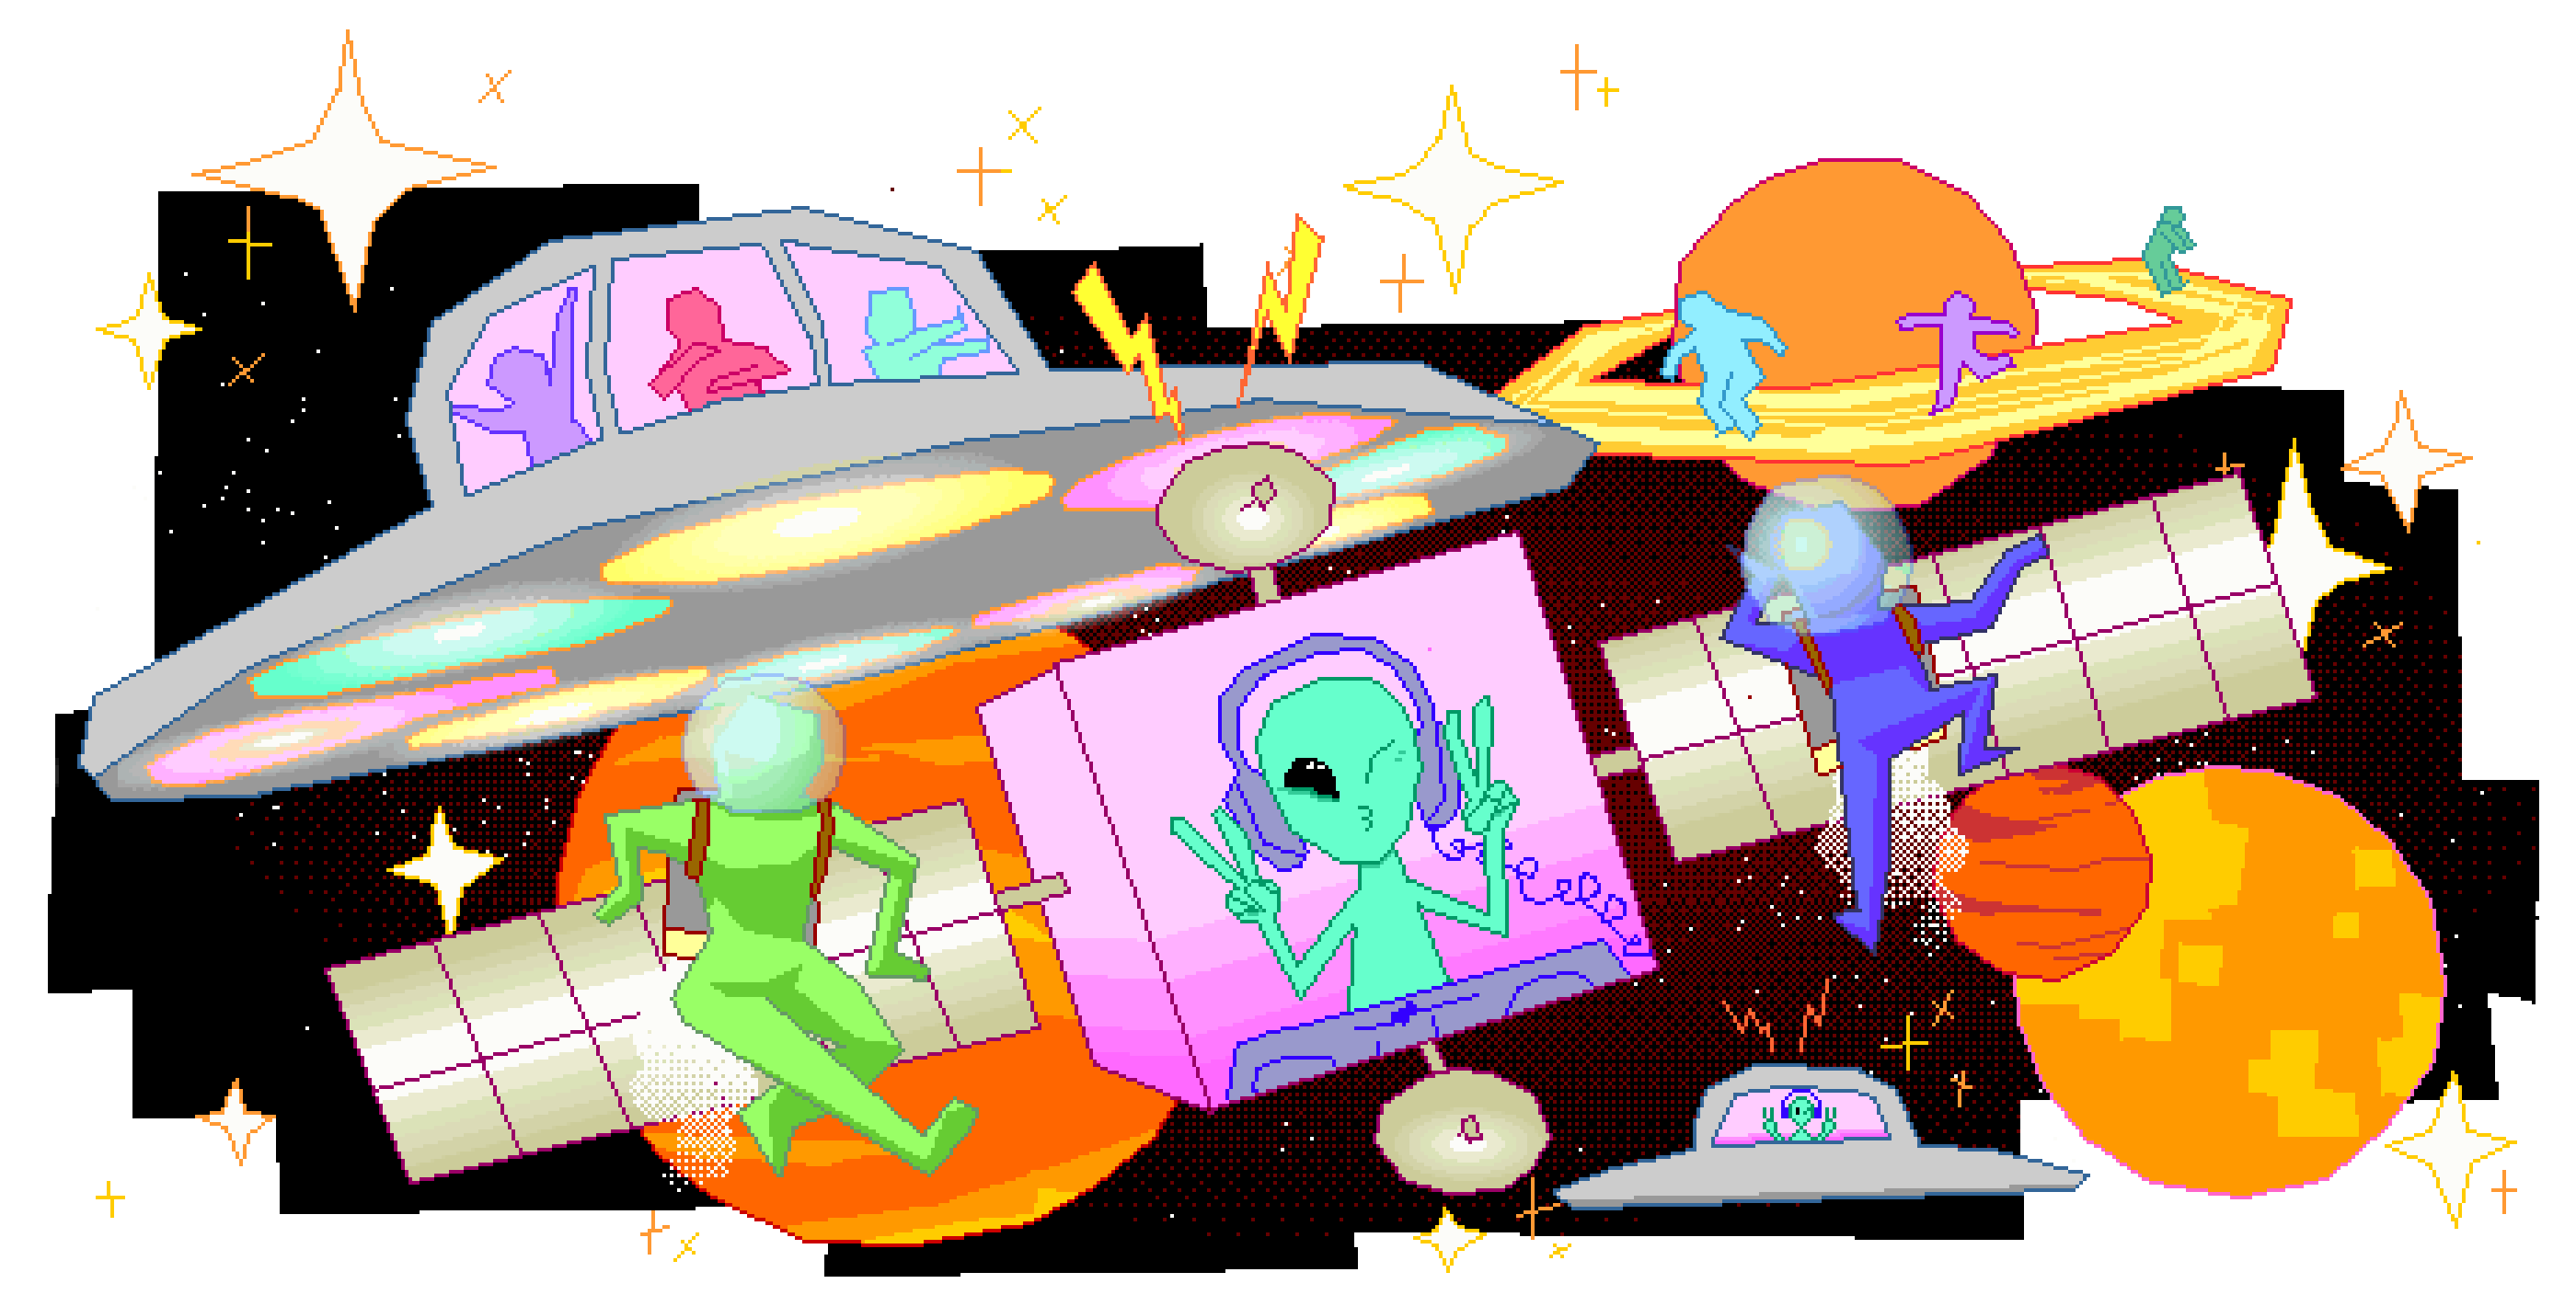
Build your dream space from scratch
Use the free tool MagicaVoxel to make a completely custom experience for your doofy guests!
Broadcast to the world
Stream your party directly to Twitch, Youtube, Facebook Live and other RTMP compatible services.